
Mastering Lamp Assembly: Tips for Trouble-Free Setup
Essential Preparation for Lamp Assembly
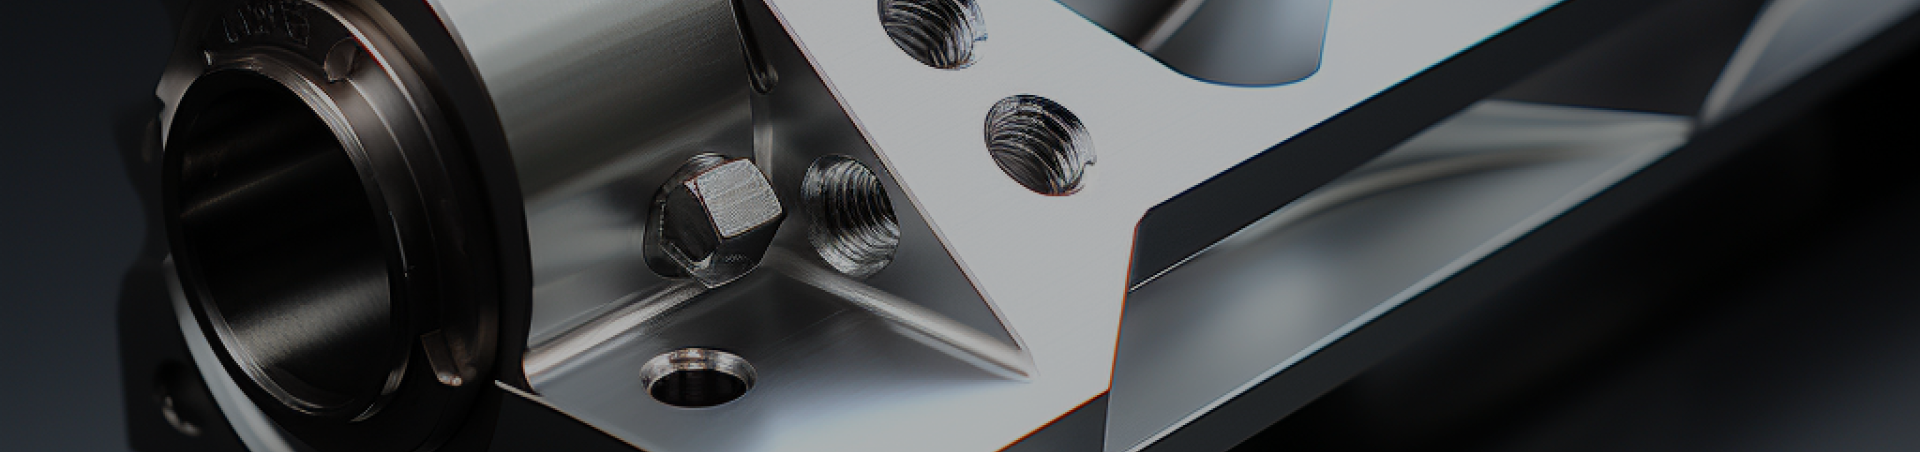
Choosing the Right Workspace Setup
Getting the workspace right matters a lot when putting together lamps. Find somewhere big enough with good lighting where things aren't scattered everywhere. This helps keep attention focused and stops tiny pieces from disappearing. The table needs to be solid and spotless too so nothing slides around or gets scratched while working on it. Don't forget about climate conditions either. If it's too hot or humid out there, some plastic parts might warp or metal components could rust faster than normal. Keeping these factors in check means better results overall, making the whole assembly go much smoother without unexpected problems popping up halfway through.
Tool Checklist for Efficient Assembly
Having all the right tools ready before starting lamp assembly makes things go much smoother. Keep basic stuff like screwdrivers, pliers, and wire cutters nearby so nothing slows down progress. Don't forget those special tools needed for working with auto body parts either they really help get things just right when assembling complex components. Double check what comes in the instruction manual too because sometimes there are unexpected items required for specific projects. Spending a few extra minutes organizing beforehand pays off big time later on when everything clicks together without constant stops to hunt for missing gear.
Safety Measures to Prevent Accidents
Safety should come first when putting together any kind of lamp. Wearing proper gear like gloves and eye protection makes sense because glass pieces can break easily and metal parts tend to have sharp edges. Keep things tidy as you work on the assembly. Small screws and wire bits left lying around create real trip hazards. Before getting started, take a moment to check all those safety notes that come with each part. They often contain important information about electrical connections or weight limits. Following basic safety steps doesn't just protect workers from injury but also helps prevent damage to the finished product. A few minutes spent reading instructions can save hours of frustration later.
Top Auto Body Parts for Seamless Installation
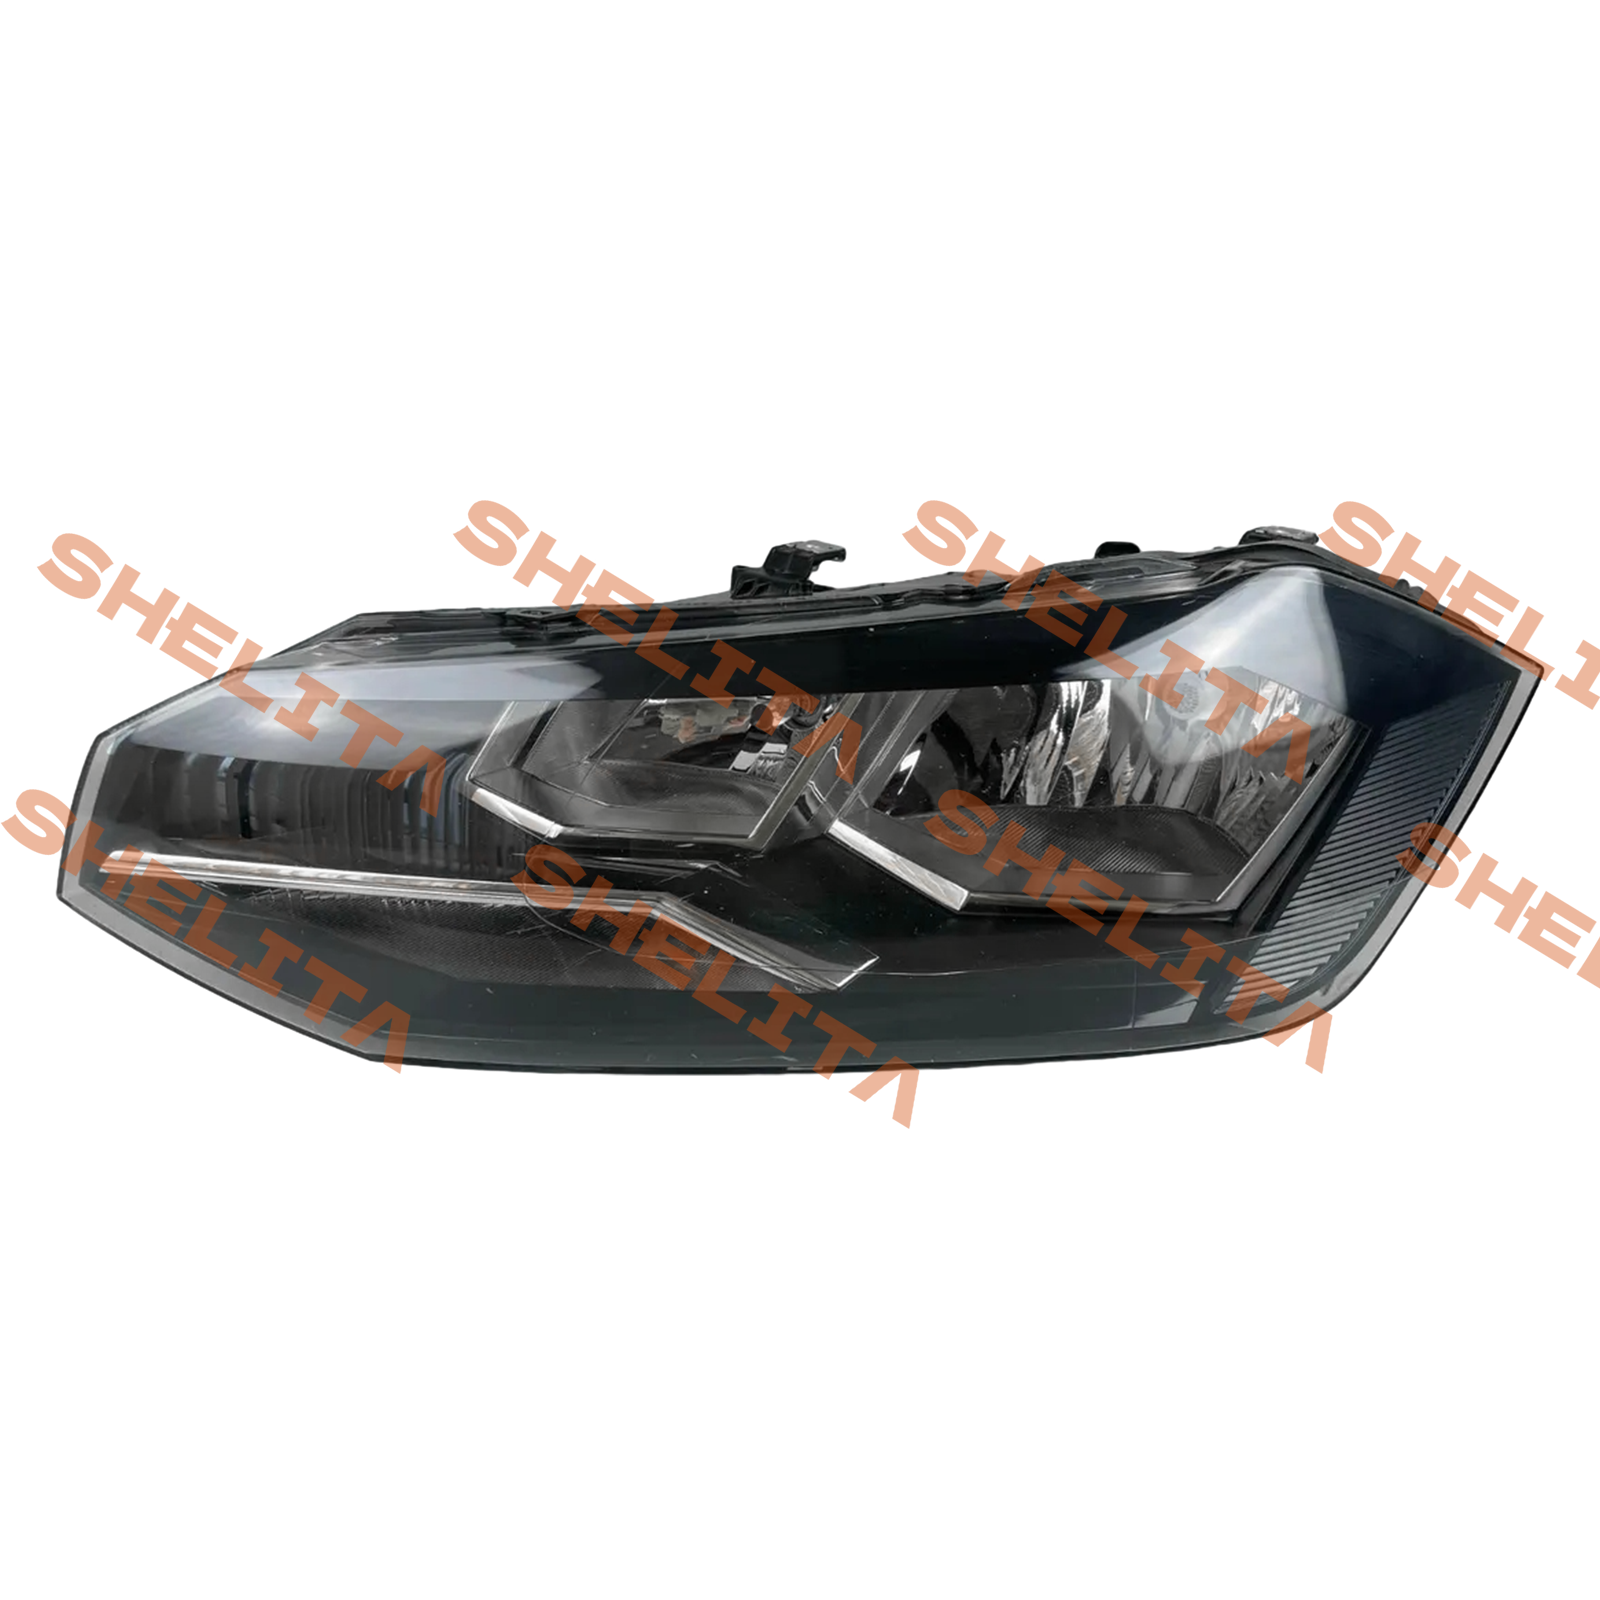
GOLF VII 2013-2017 Head Lamp Assembly
The GOLF VII Head Lamp Assembly fits right in with Volkswagen's design language and sits perfectly on the car without any gaps or misalignment issues. These lamps are built tough and last a long time because they meet all the same specs as factory parts from VW themselves. The way they're made spreads light exactly where it needs to go, which means better visibility at night and safer driving conditions overall. For anyone putting one of these on, finding a flat surface to work on makes things much easier. Following the alignment guides carefully is important too since even small mistakes can affect how well the lights function once installed.
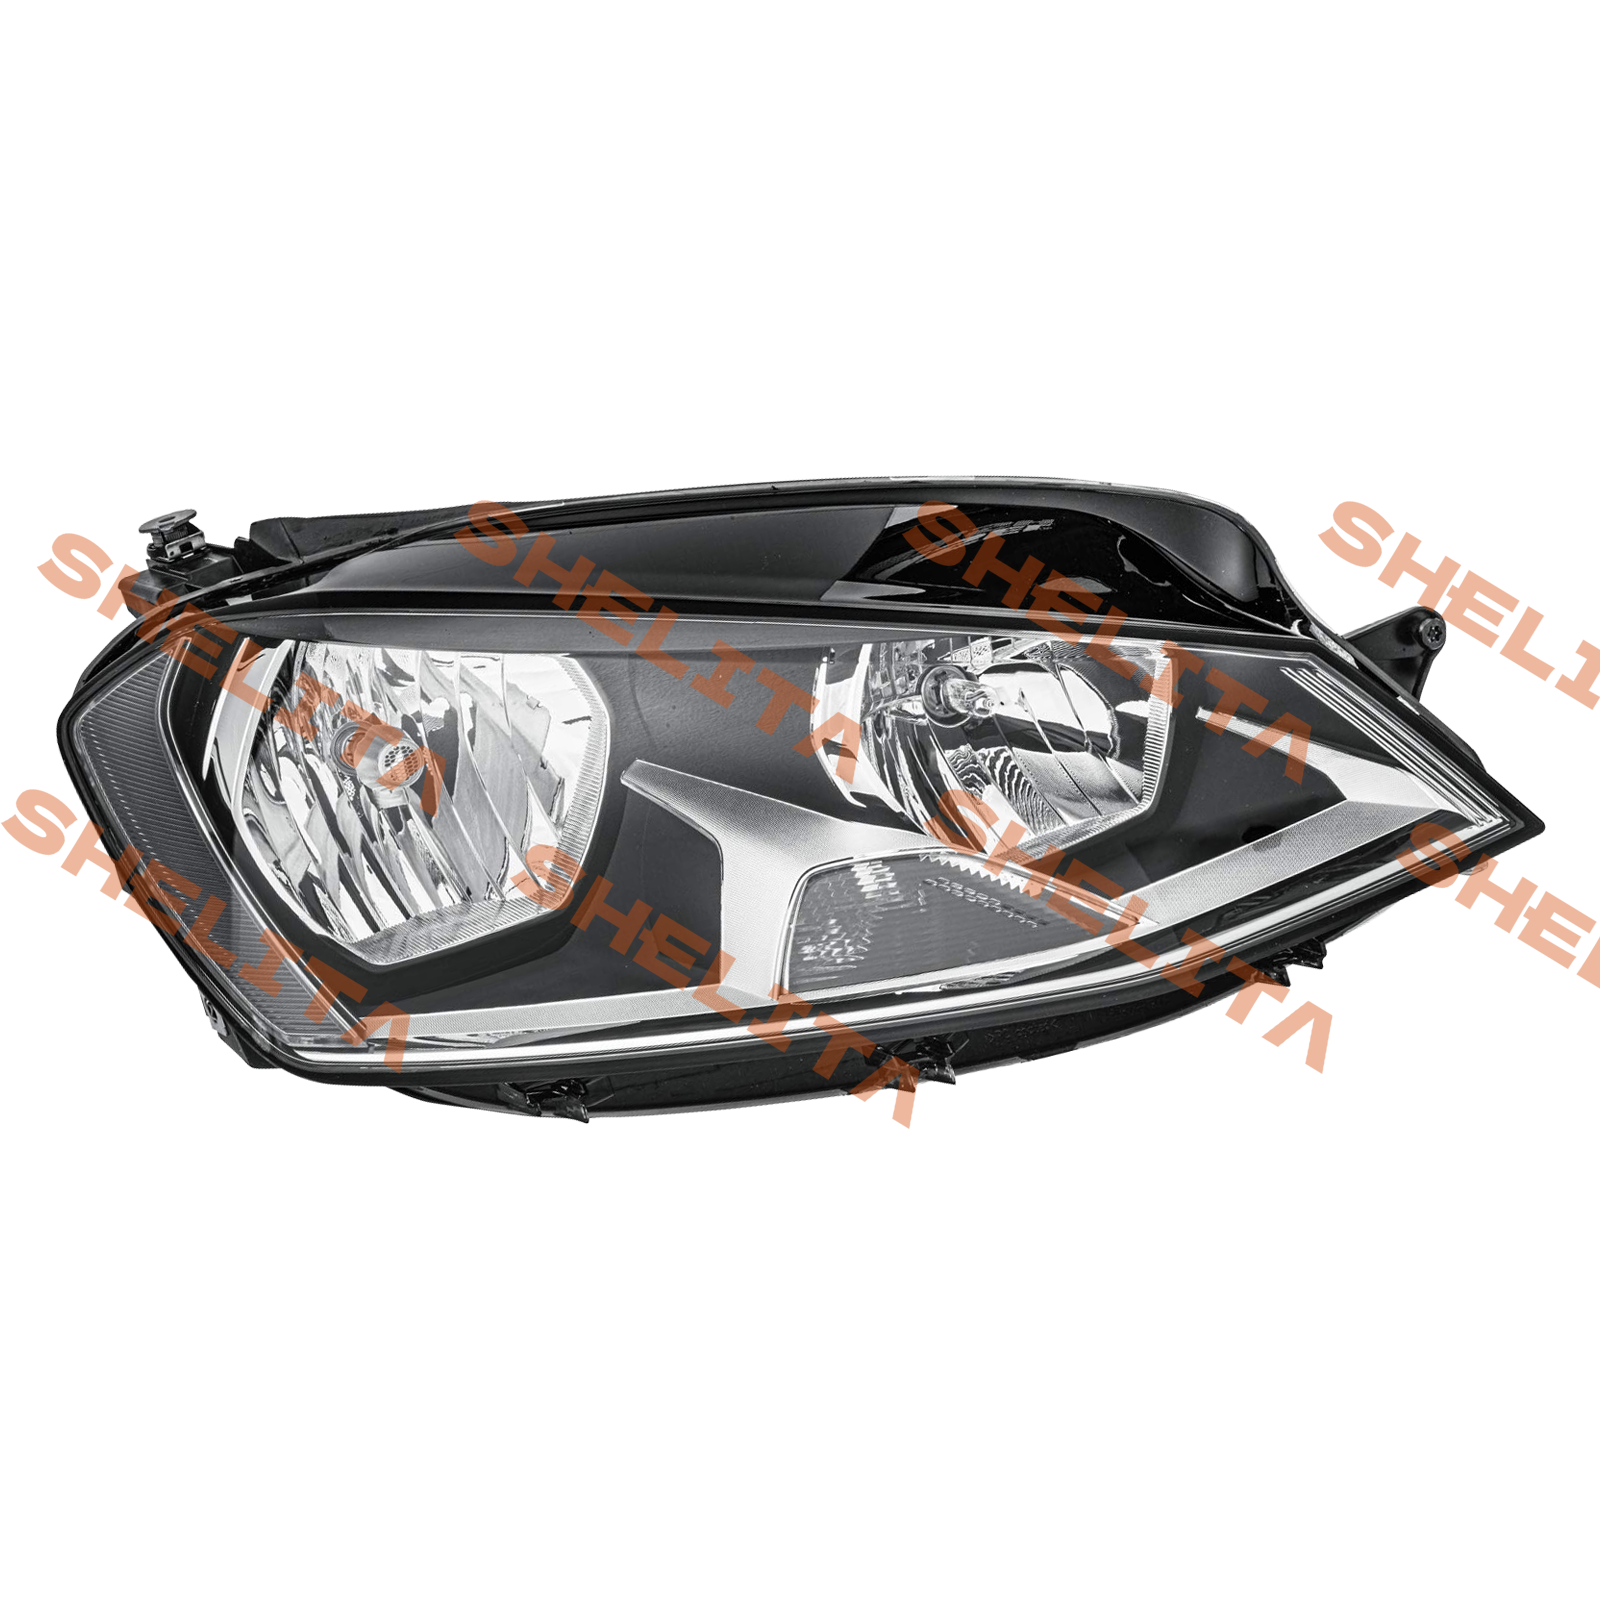
VW POLO VI HB 17- Head Lamp Components
Headlamp components for the VW POLO VI HB 17 model have been crafted specifically to match the vehicle's styling while still delivering excellent illumination performance. When replacing these parts, going with genuine OEM components instead of cheaper aftermarket alternatives makes a real difference in how long they last and how dependable they prove over time. These factory-made parts fit just right because they're made to exact specifications, so there's no risk of messing up any current warranty coverage either. Installing them properly matters too. Anyone working on this should stick closely to what the factory manual says about positioning and connection points. Getting those electrical connectors right is particularly important since modern headlights involve some pretty complicated wiring setups that need careful handling during installation.
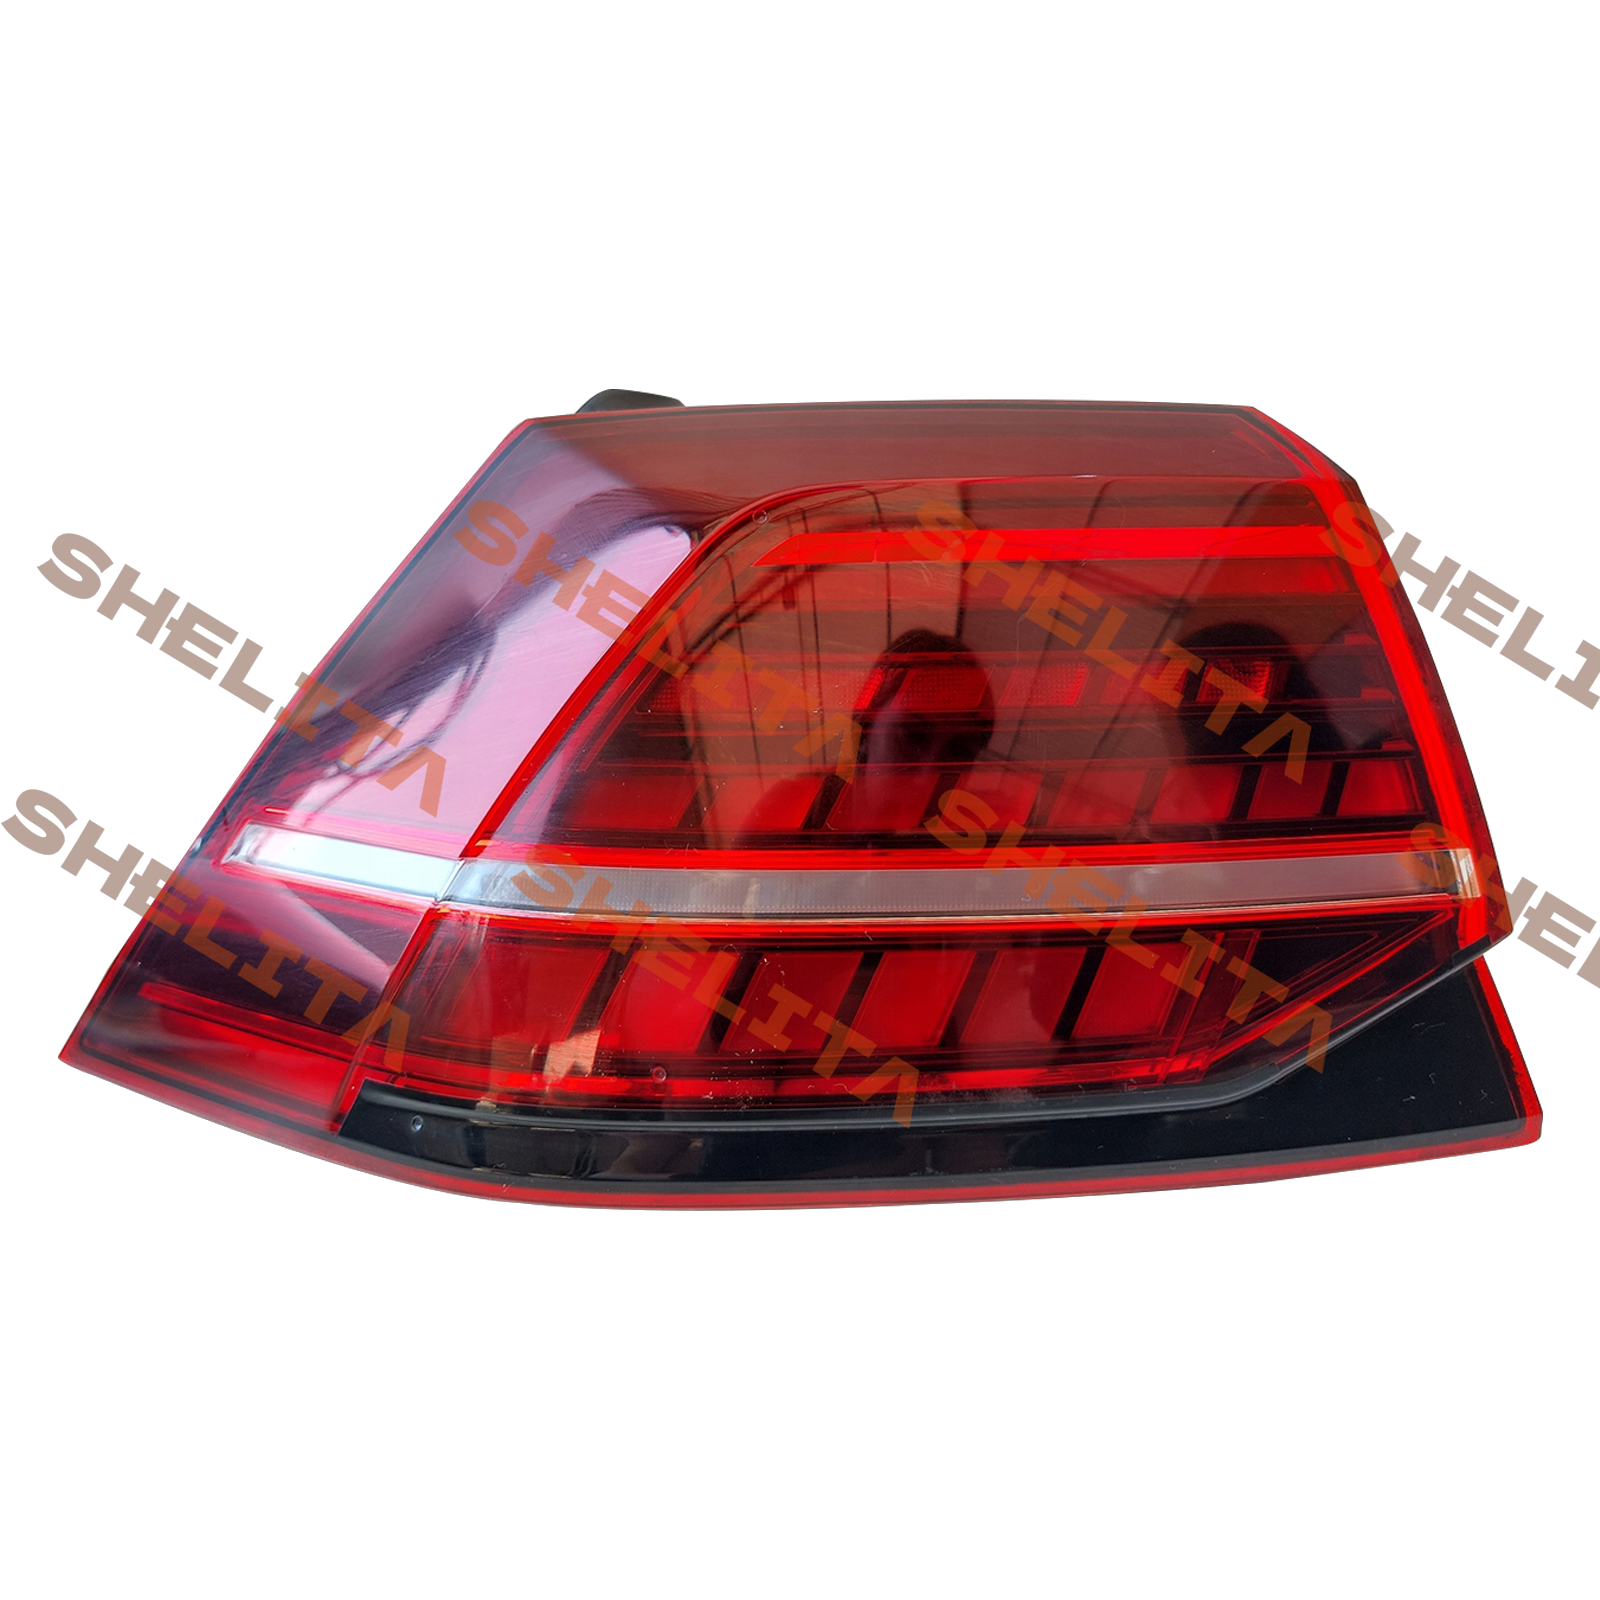
GOLF VII 2013-2017 LED Tail Lamp Kit
Anyone wanting better visibility and lower power usage should consider getting an LED tail lamp kit for their GOLF VII model. LEDs last way longer than traditional bulbs and eat up far less electricity, which fits right in with today's green initiatives. The brighter lights make driving safer at night or when roads are slick from rain or snow. Installing these kits isn't too bad if you follow the instructions carefully. First, mount the LED parts properly so they sit flush against the car body. Then check all the wiring connections and make sure they're sealed tight against water and road grime. This simple precaution goes a long way toward keeping everything working smoothly for years down the road.
Step-by-Step Lamp Assembly Guide
Unpacking and Organizing Components
Getting ready to put together a lamp starts with being really careful when taking things out of the box so nothing gets broken by accident. Find some decent space where there's room to spread everything out without feeling cramped. Open those boxes slowly and take each part out gently one at a time. Sort through what comes out and group similar items together maybe separate wires from bulbs and keep fixtures in their own spot. Makes life easier later on. Oh, and grabbing a piece of paper to jot down what should be there works wonders too. Just run through it quickly before diving into assembly to make sure everything arrived safely. An organized setup helps avoid frustration down the road when trying to figure out where something went missing during installation.
Connecting Wiring Harnesses Securely
Getting those wiring harnesses secured properly makes all the difference when it comes to avoiding electrical gremlins during auto body part installations. Start off by grabbing hold of those diagrams that are specific to whatever vehicle model we're working on here. They really help get things right. Those illustrations aren't just pretty pictures either they actually show where each wire needs to go. Take some extra time going through each connection point before tightening anything down. Trust me, spending an extra minute now saves hours later chasing down mysterious shorts or blown fuses. Most mechanics will tell anyone who asks that taking care with wiring from day one pays off big time in terms of both saved labor costs and keeping customers happy months down the road.
Final Adjustments and Alignment Tips
When putting together the lamp assembly, small tweaks make all the difference in how it sits and works properly. Getting things aligned right helps spread the light evenly across the road surface, which makes driving safer at night. Most folks use basic techniques like checking levels and measuring distances from the ground to get everything positioned correctly. If something looks off after installation happens, there are ways to fix it without starting over completely. Sometimes just turning that adjustment screw a bit or moving those mounting brackets can do wonders. Taking time to get this right isn't just about looking good either it actually affects how well the lights perform and whether they meet local safety requirements for vehicle lighting systems.
Troubleshooting & Maintenance Best Practices
Resolving Common Electrical Connection Issues
Lamp assemblies tend to develop electrical problems pretty frequently. We've all seen those annoying flickering lights or worse, when they just stop working completely. Most of the time, these issues come down to simple things like loose connections somewhere in the system, bad wiring jobs, or maybe even something was installed incorrectly to begin with. When trying to figure out what's wrong, start by checking those wiring connections first. Grab a multimeter or some test lights and see where the electricity isn't flowing properly through the circuit. Usually fixing them involves nothing more complicated than tightening up any loose spots, swapping out any damaged wires we find, or putting together whatever components got messed up during installation. With a bit of patience and methodical checking, most people can actually handle these kinds of electrical troubles on their own without needing to call in an electrician every single time.
Preventing Moisture Damage in Lamp Housings
Getting the sealing right on lamp housings matters a lot because water getting inside leads to rust problems and makes lights work worse over time. When putting these together, go for materials that stand up to weather and really good quality sealant stuff. Silicone based products tend to last longer than cheaper alternatives. Don't forget to check those seals every so often too. Look at them closely during routine maintenance sessions to spot any cracks or wear spots before they become big issues. A quick inspection now saves headaches later when dealing with dampness damage from rain, snow, or even just humidity buildup in certain climates. Keeping an eye on this helps maintain protection regardless of where the lamps end up being installed.
Long-Term Care for Optimal Light Performance
Regular maintenance really makes a difference when it comes to keeping lamps bright and preventing them from breaking down over time. Using the right cleaning products specifically made for lamp parts helps extend their life and keeps everything looking clear. Don't forget to check on things regularly too. Look out for dirt buildup around the glass or any signs that the metal parts are starting to wear out. Catching small problems early saves headaches later. With some basic upkeep and following good maintenance practices, most people find their lamps stay in great condition for years without major issues cropping up.